What Are Nodes?
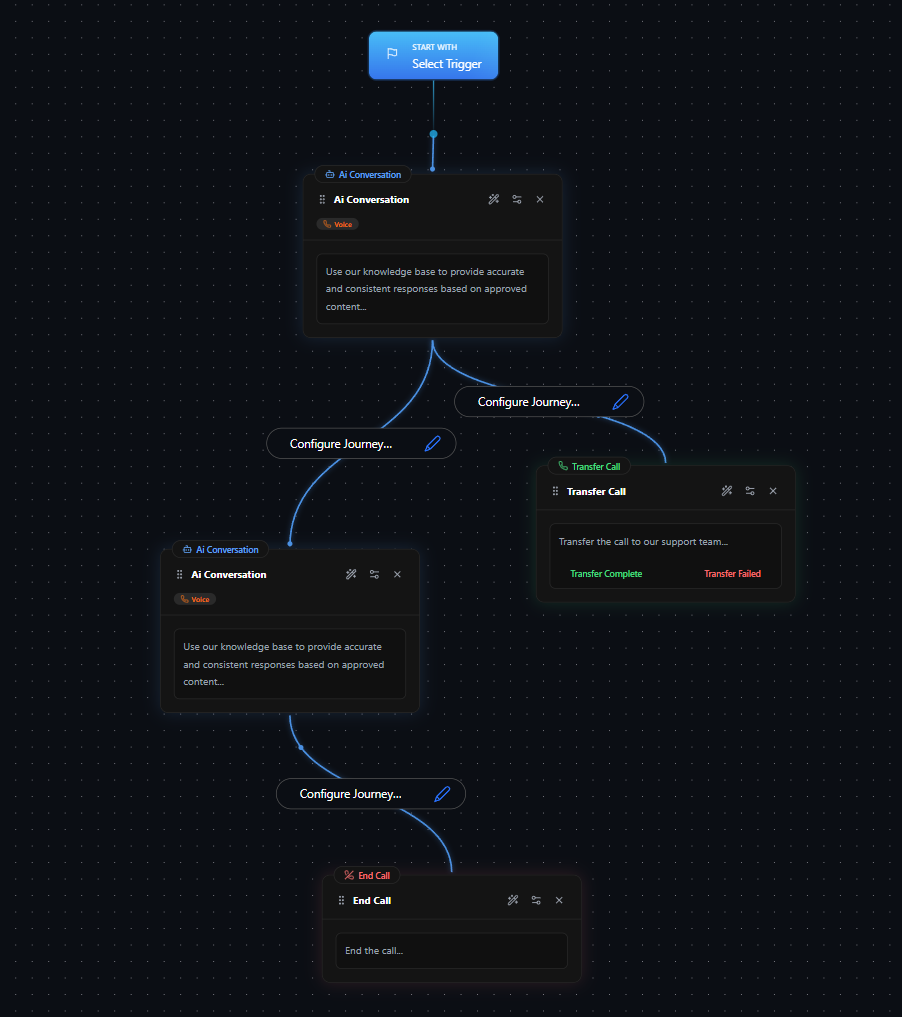
Nodes are the fundamental building blocks of a Workflow in Plura. Each node represents a specific step in a conversation and has a distinct purpose. Nodes help structure the AI’s behavior by breaking complex interactions into smaller, manageable components.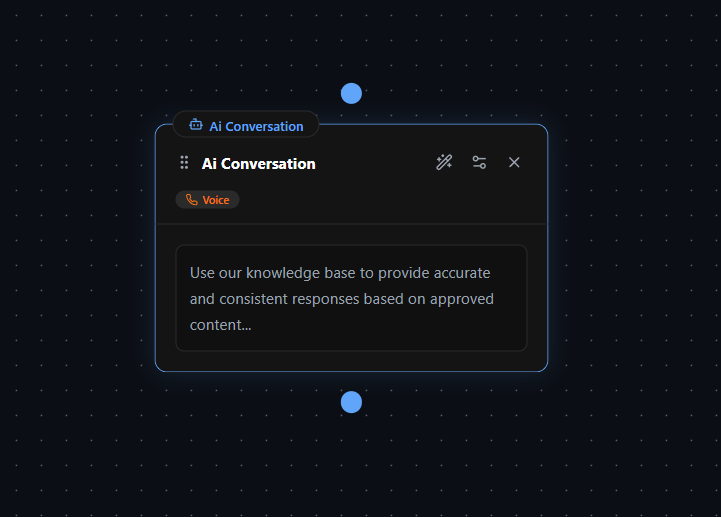
Building Nodes
Nodes can be created and configured either manually or using the Node Wizard. The Node Wizard simplifies node creation by automatically generating prompts, conditions, and other necessary configurations based on minimal input. More details on using the Node Wizard can be found in the Building Workflows section. When configuring nodes manually, multiple sections contribute to a node’s functionality. While each node type has unique settings, they share many core components that define their behavior and interaction within the workflow.Common Sections Found in Every Node
Regardless of the node type, every node in Plura AI contains key sections that define its behavior and interaction logic. These sections ensure consistency across workflows and allow for granular control over how the AI operates.Node Name
The Node Name is a label that helps identify the node within the workflow. It should be descriptive enough to reflect the node’s function, making it easier to navigate complex workflows.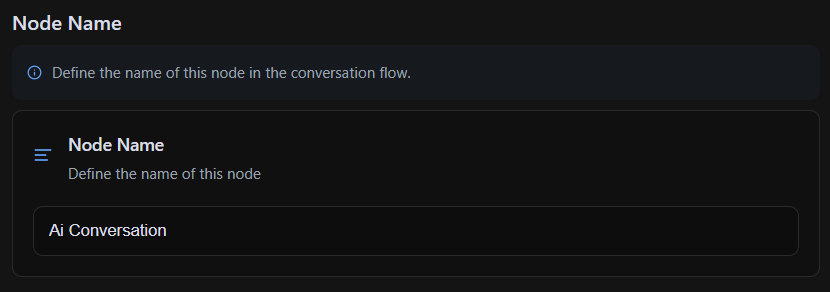
Node Description
The Node Description is an optional field that provides additional context about the node’s purpose. It is useful for documentation, helping designers and developers understand its role within the workflow without needing to inspect its configurations in detail.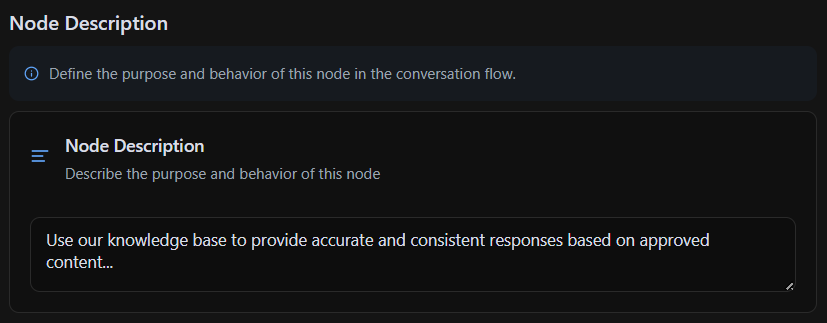
Response Setup
The Response Setup section defines how the AI generates and delivers responses when it reaches the node. It plays a crucial role in ensuring the AI provides accurate, relevant, and engaging interactions at each stage of the workflow.
By choosing between AI Prompt Mode and Static Response Mode, you can tailor how the AI communicates within each conversation, ensuring flexibility where needed and control where required.AI Prompt (Dynamic Response Mode)
In AI Prompt Mode, the AI dynamically generates responses based on instructions provided within the node. This mode allows for more natural and adaptable conversations by leveraging AI capabilities to respond contextually.
- Customization: You can give the AI specific instructions on how to phrase responses, what tone to use, and how to structure the conversation.
- Context Awareness: The AI can incorporate previous user inputs, external API data, or workflow variables to generate responses dynamically.
- Use Case: Best suited for open-ended interactions where the AI needs to adapt to user input, such as answering questions, handling uncertainties, or engaging in more fluid conversations.
Static Response Mode
In Static Response Mode, the node sends a fixed, predefined message to the user. Unlike AI Prompt Mode, the response is not generated dynamically; it is explicitly written and delivered exactly as configured.
- Predictability: The message remains consistent every time the node is triggered, ensuring precise control over what is communicated.
- Reliability: Since the AI does not generate the response, there is no risk of variation, making it ideal for compliance-sensitive messaging.
- Use Case: Best used for structured responses such as confirmations, instructions, and standardized information (e.g., “Thank you for your inquiry. A representative will contact you shortly.”).
Stay Condition
The Stay Condition prevents the AI from moving forward until a specific requirement is met, ensuring critical information is collected or a necessary interaction takes place before progressing to the next step in the workflow. Inside the Stay Condition, you define what must happen before the AI can proceed, and this condition can vary depending on the node’s purpose. For example, a valid Stay Condition could be: “Do not proceed until the user has provided their date of birth.” This means the AI will remain in the current node and continue prompting the user until a valid date of birth is received. If the response is unclear or missing, the AI will ask again instead of advancing in the workflow.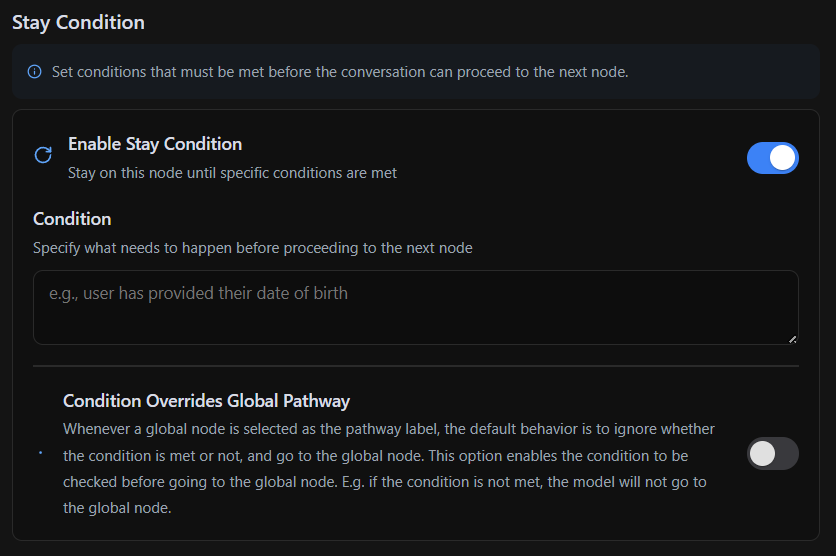
Global Node Settings
When a node has the Global Node feature enabled, it becomes accessible from any point in the conversation flow. This means that Global Nodes can be triggered at any time, regardless of the current state of the workflow.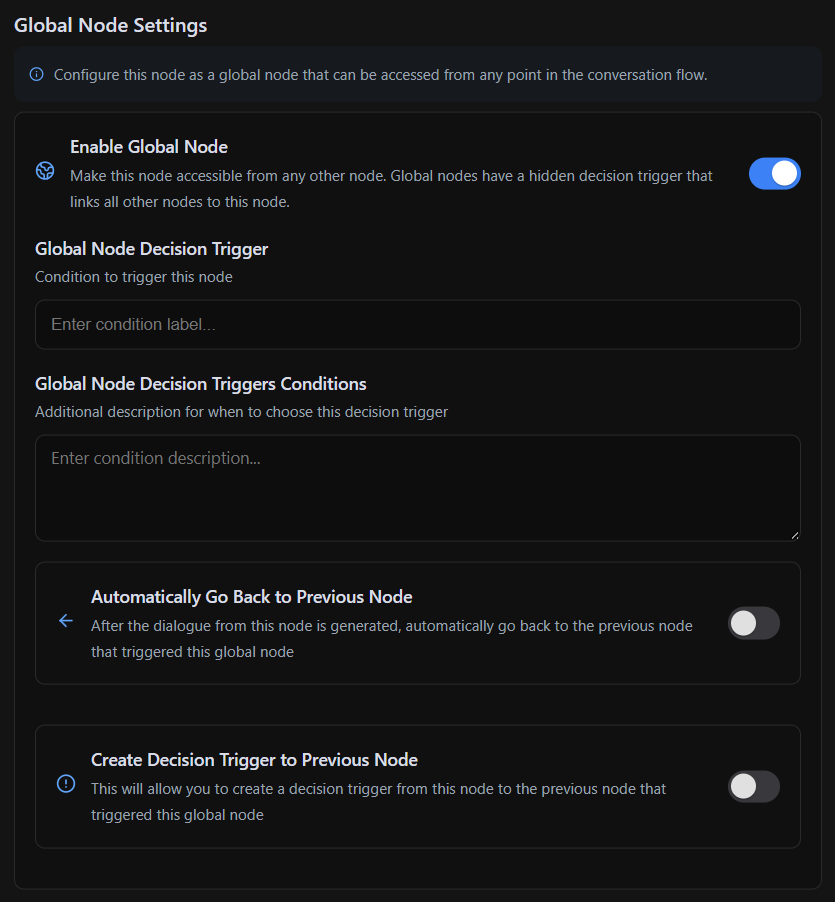
Data Extraction
The Data Extraction section captures and stores data from the conversation while the AI is on that node. It ensures that key user inputs are collected, formatted, and stored for later use within the workflow or external integrations.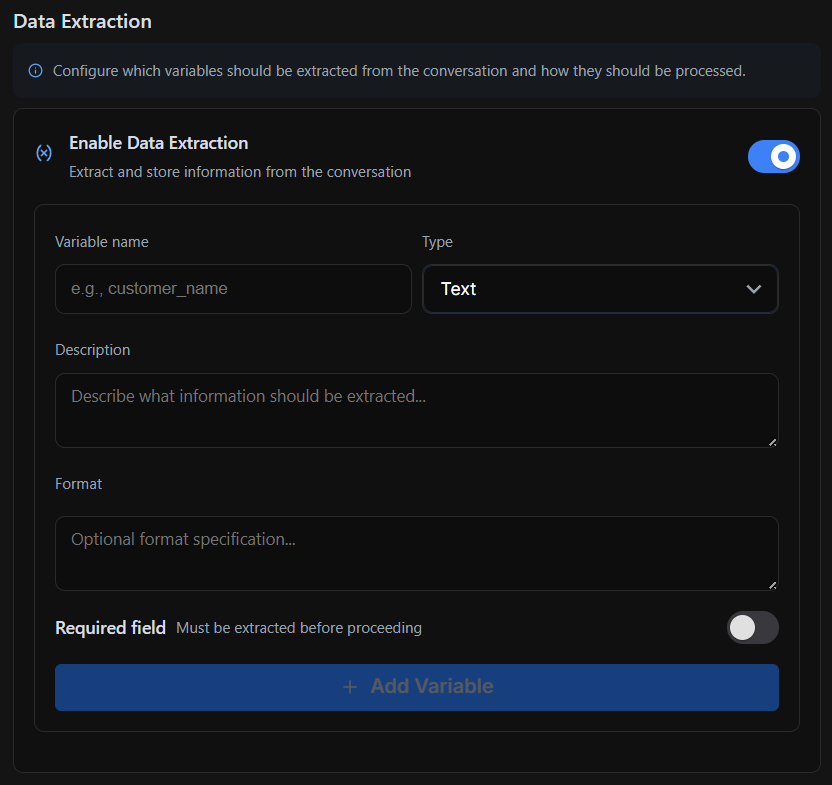
- Variable Name: A unique identifier for the extracted data (e.g.,
customer_name). - Type: The format of the data, such as text, numbers, or other structured data.
- Description: An optional field to define what information is being collected.
- Format: A custom format specification if required (e.g., date format, number validation).
- Required Field: If enabled, the conversation cannot proceed until this data is provided.
Common Use Cases:
- Capturing a user’s name, email, or phone number for future reference.
- Extracting order details or reservation information for processing.
- Validating user-provided data before executing further actions.
Voice Settings
The Voice Settings section provides customization over how the node handles conversational situations and AI voice interactions. It allows fine-tuning of response behavior, interruption management, and AI model preferences.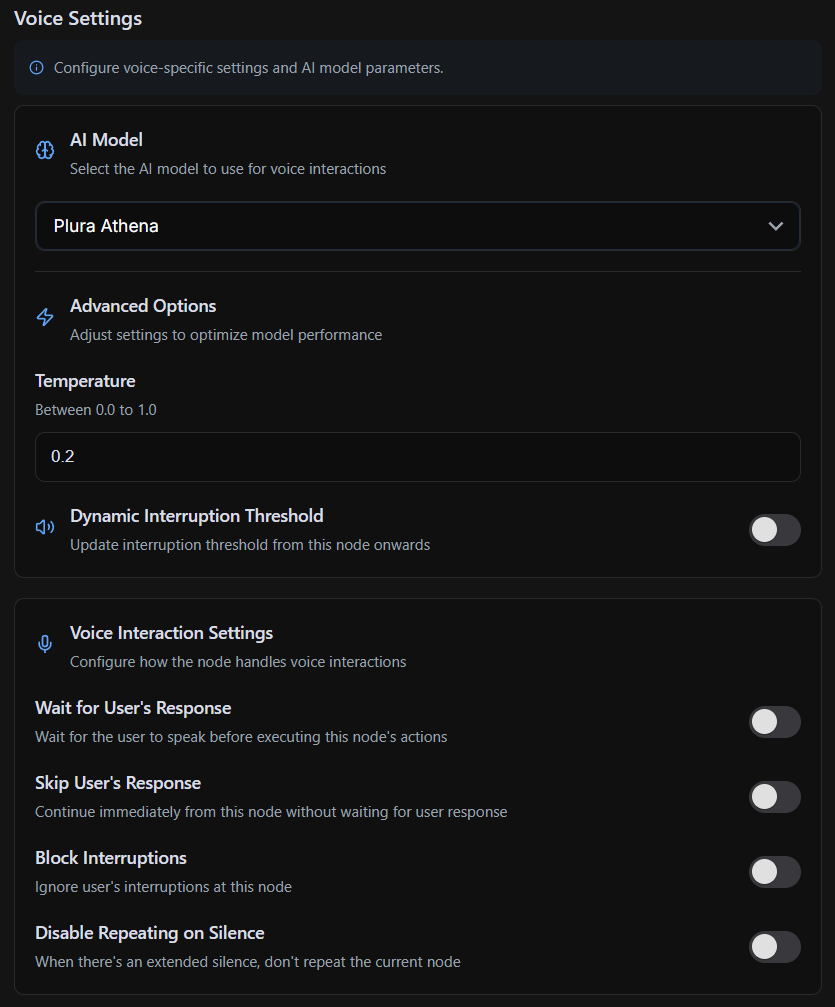
- AI Model – Selects the AI model for voice interactions.
- Temperature – Controls response variability (lower values make responses more predictable, higher values add creativity).
- Dynamic Interruption Threshold – Adjusts how interruptions are handled from this node onwards.
Voice Interaction Settings:
- Wait for User’s Response – Pauses until the user speaks.
- Skip User’s Response – Proceeds without waiting for input.
- Block Interruptions – Ignores user interruptions at this node.
- Disable Repeating on Silence – Prevents the node from repeating if the user remains silent.
Behavior Refinement
The Behavior Refinement section allows manual fine-tuning of how the AI handles **responses, conditions, and decision triggers **within the current node. This ensures the AI reacts appropriately in different conversational scenarios.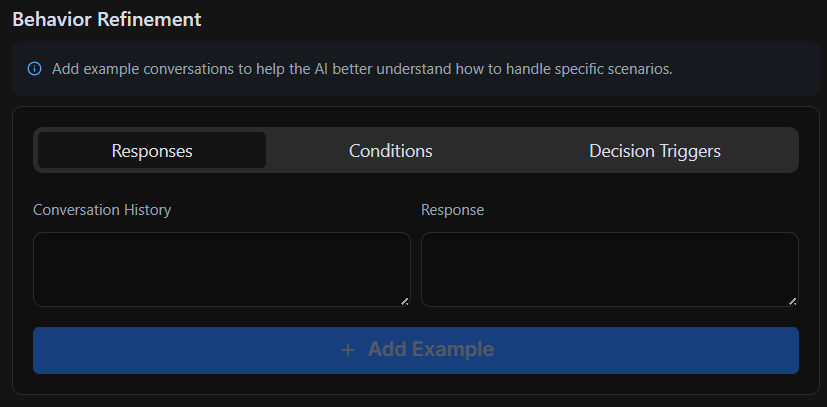
- Responses – Define or adjust AI replies based on conversation history.
- Conditions – Control when a condition is considered fulfilled based on user input.
- **Decision Triggers **– Modify which decision trigger is activated depending on user responses.