Overview
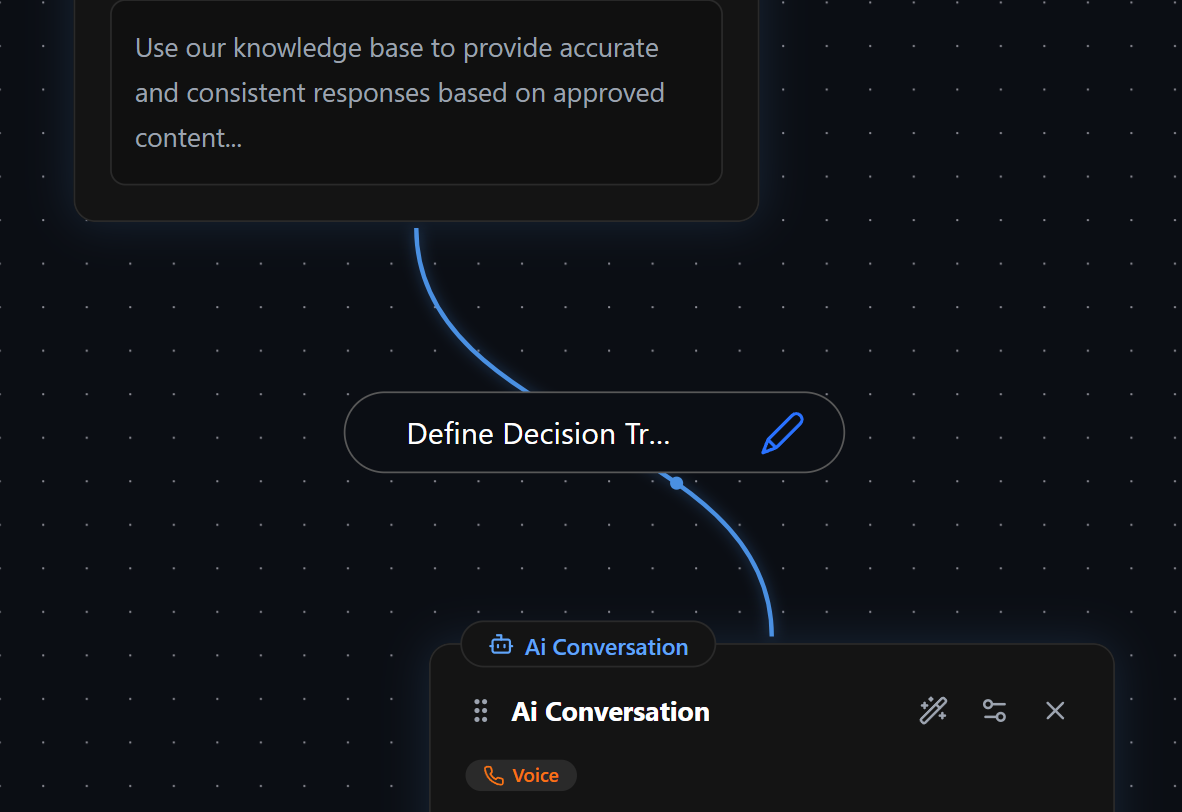
Decision Triggers determine how nodes are connected and define when the workflow progresses from one node to another. They ensure a structured and logical conversation flow by controlling movement based on specific conditions and user interactions.
Creating a Decision Trigger
To create a Decision Trigger, follow these steps:- Hover over a node – A connector circle will appear at the bottom.
- Drag the connector – Connect it to the top circle of another node.
- Configure the trigger – Define the conditions under which the transition occurs.
Decision Triggers always move in one direction—from the bottom of the originating node to the top of the destination node. Multiple Decision Triggers can exit from a single node and enter a single node, allowing for flexible and dynamic workflows.
Decision Trigger Configuration
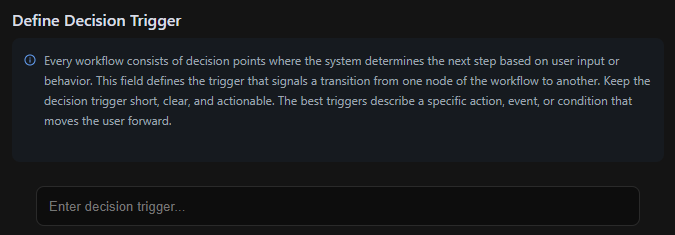
Once a Decision Trigger is created, it must be configured. There are two key sections:Define Decision Trigger
This section establishes the trigger condition that signals when the system should transition to the next node.

- Keep triggers short, clear, and actionable.
- Triggers should describe a specific action, event, or condition that moves the conversation forward.
Examples of Decision Triggers:
- User responded → The user has provided any input.
- User confirmed selection → The user explicitly agreed or chose an option.
- User is eligible (Age 65+) → The user meets a specific eligibility requirement.
- User requested assistance → The user asked for help or guidance.
- User abandoned process → The user did not respond within a set timeframe.
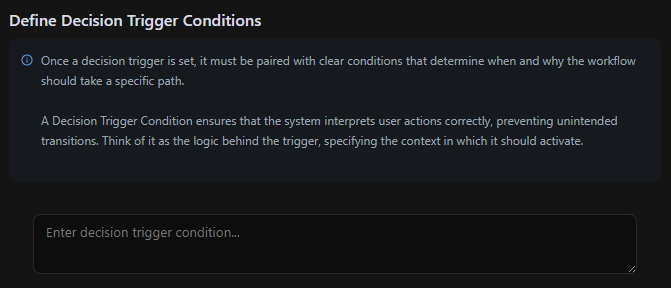
Define Decision Trigger Conditions
A Decision Trigger Condition determines the logic behind the trigger, specifying when and why the transition should occur.

- Ensures that the system correctly interprets user actions.
- Prevents unintended transitions by adding clear, logical conditions.
Examples of Decision Trigger Conditions:
- User asks for human support → Choose this path if the user expresses the need for assistance:
- “I need to talk to a real person.”
- “Can I speak with a human?”
- User selects an option → Choose this path if the user explicitly confirms:
- “Yes, that’s correct.”
- “I’ll go with option B.”
- User meets a requirement → Choose this path if a condition is met:
- “User’s age is 65+”
- “User has completed the previous step successfully.”
- User abandoned the process → Choose this path if:
- “User did not respond within 30 seconds.”
- “User exited the chat/session without confirmation.”
Global Decision Triggers
Global Nodes have built-in Global Decision Triggers, which function the same way as standard Decision Triggers but are hidden and can be triggered from anywhere in the workflow.- Every node in the workflow is implicitly connected to a Global Node.
- The configuration of a Global Decision Trigger is identical to a standard Decision Trigger.
- Unlike regular triggers, you won’t see a visible connection, but the functionality remains the same.